IMPORTANT:
Most likley you have been ordered the parts from a dealer. When the package arrive, make sure you have gotten every part you ordered.
So? What are we waiting for? Let's begin with open the case.
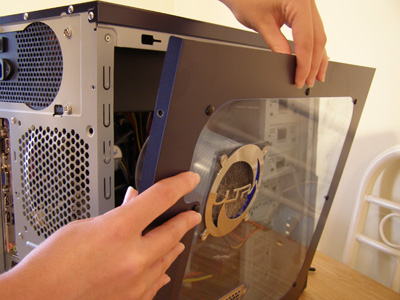


Screw the mainboard into the case as it says in the instruction. Don't do anything else but screwing it tightly.

Then you can mount the PSU (powersuply) into the case like on the picture (you take the mainboard first)
Then you might want to start building!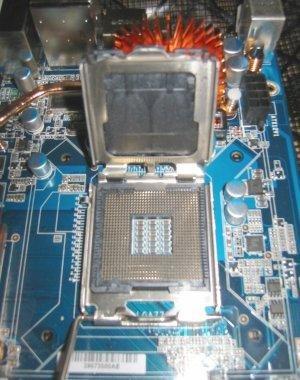
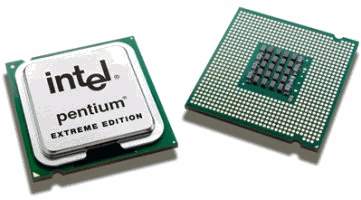
The first component you are gone have to put in offcorse the most iportant peace of your rig. This is the CPU.
To do this, you will have to open your CPU socket. Follow the manuals to the mainboard as it might be different from board to board.

,
As you can see here, the socket is now open and ready ro recive the CPU. The CPU has a little triangle in one of the corners. This is the key (keyed means that it has a form for lock on it so it will only fit one way). The triangle is going to point the same direction as the one on the mainboard. If it does not work the first time DON'T FORCE IT DOWN as it could breake the pins on it.

Now that you have putted it down, lock the socket the oposite way you opnened it.
Now aply a small layer of thermal paste on top of the CPU. This is just to lead the heat between the CPU and the fan better.
All you do now is placing the fan over the CPU and then screw it there. Connect the three-pin wire to the motherboard as it provide power for the fan.
Next, install the RAM in your computer. This is probably the easiest thin you can do during the process. First you have got to open the slot. Tilt the two white "locks" so it gets open. Then you just push the memory card down until the two white locks goes back as they originaly was. 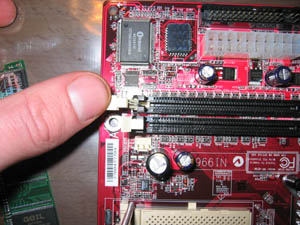
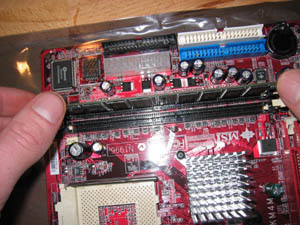


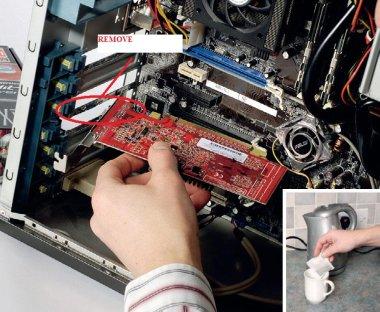
Now it's only a few parts left before we're done here. And the next one in the line is your graphic card!
It's not much to say about the graphic card. All you have to do is to remove the bracket in the back at the case to make it posible to install the card. Remove it as I said, push it down in the slot (PCI, PCI Ex16 or AGP. It depends on what and where your slot are, but read instrucitons).
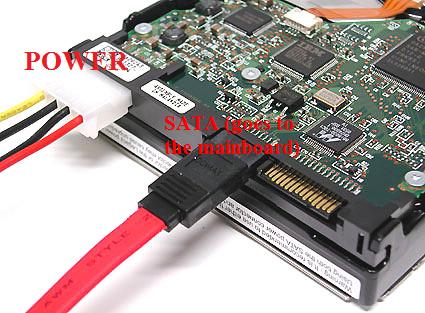
This is a pidture of the HDD. Conect the SATA to the mainboard first, then the power. The DVD-burner and the HDD is treated the same way and both looks like on this picture
The only thing that stands before you and a great computer now is the harddrive and the DVD-burner.
This rig was builded with SATA HDD and burner. IDE will also work good, but S-ATA is better because all you have to then is to connect it to your mainboard. With IDE there is jumpers to remember of, if you are going to use IDE, remember to switch the HDD to "Master" and the DVD-burner to "Slave".
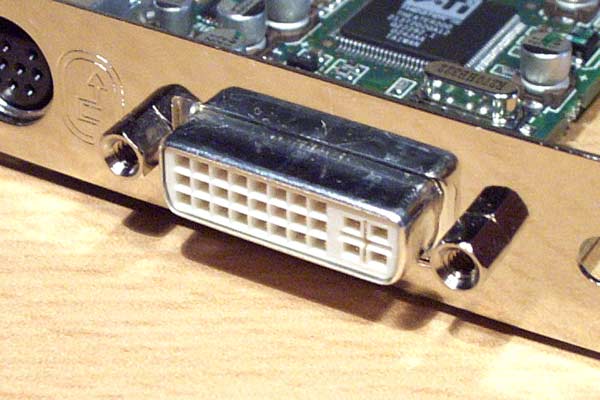
Connect your screen to the graphic card
The last thing to do during the building is to connect the Powerbutton, firewire, USB and what else is to the mainboard. Chek your manuals for how this is done. Now connect your screen to the DVI or VGA grapfic card, put in the keyboard and finaly: Put the powercord into the wall!
IMPORTANT:
Make sure you have connected averything together the right way BEFORE you turn the system on! Go over the manuals once more to see if you have missed anything. The most common mistake people do when they build a pc is that they put the powerbutton cable to a wrong place.